Migrating from Shopify to WooCommerce: A Detailed Guide
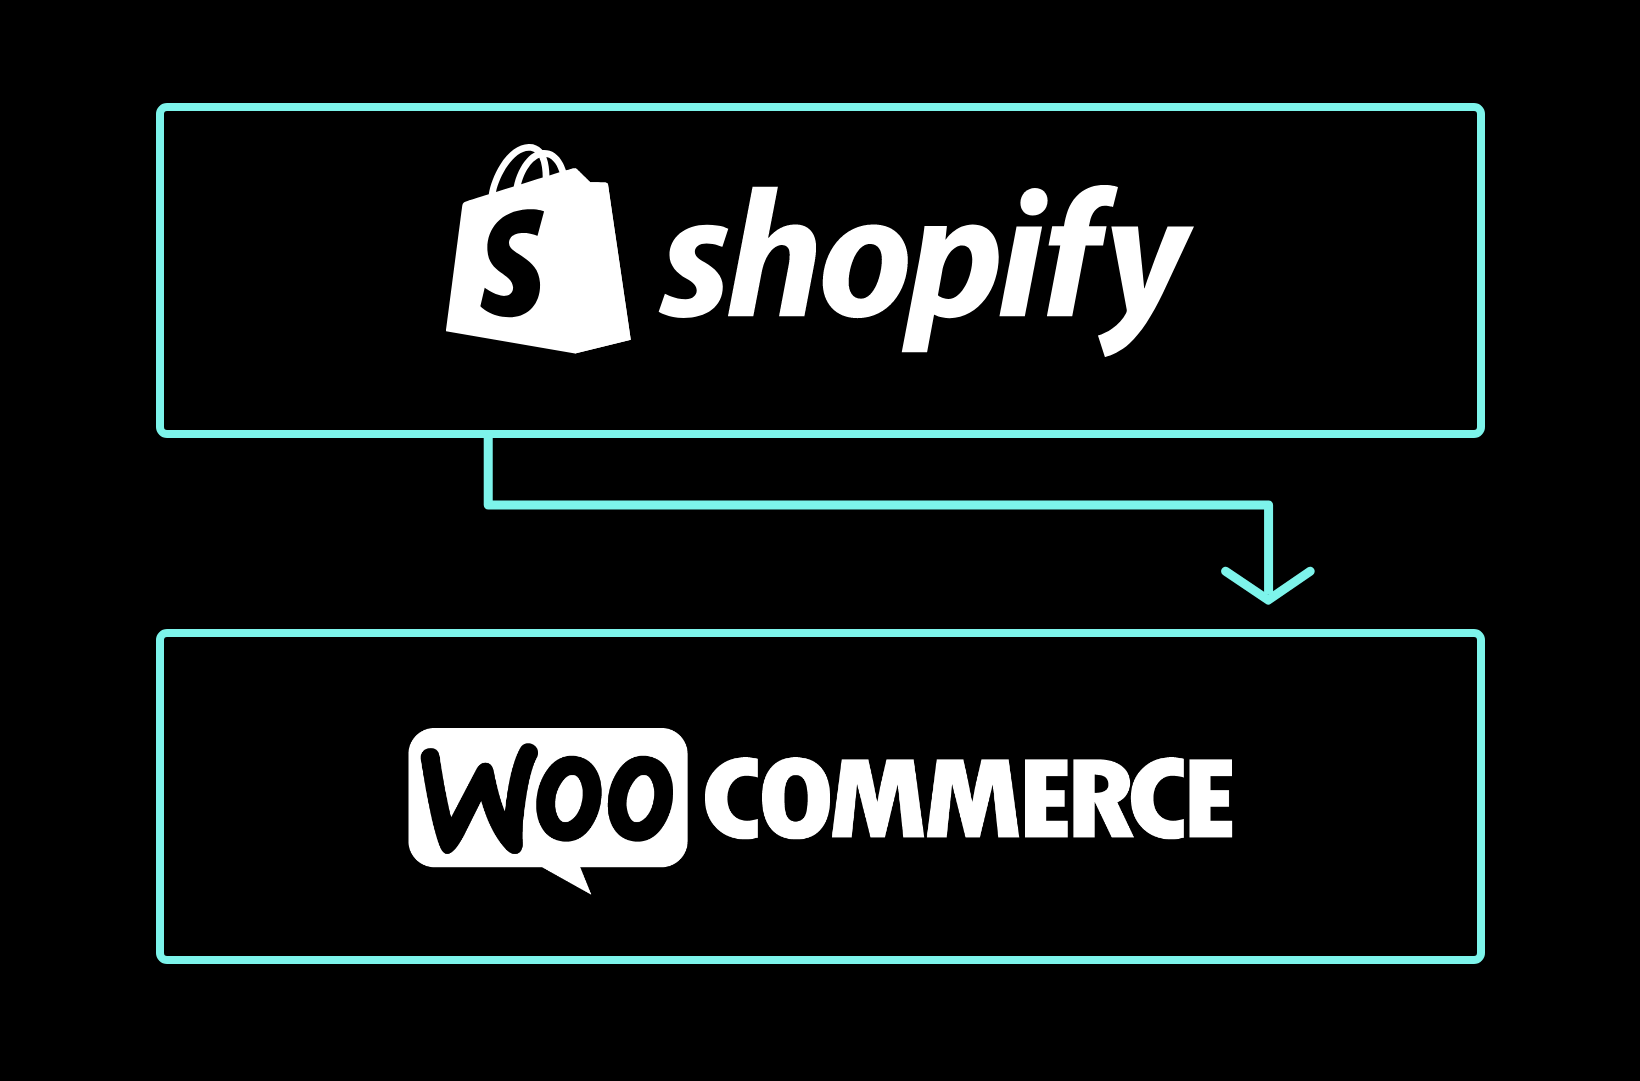
You’re on Shopify, a user-friendly eCommerce platform that’s served you well. But now, you’re eyeing the horizon for something better – WooCommerce.
Migrating to WooCommerce offers:
- A level of customization that Shopify simply can’t match, thanks to the vast array of plugins and themes (many of which are free).
- A fully open-source eCommerce platform that gives you total control over your site and data.
- A robust, scalable solution that isn’t just for small-scale ventures. It’s trusted by large enterprises to handle high-volume traffic and complex operations.
- An economical alternative, where you only pay for what you need when you need it.
In this guide, we’ll dive into the nitty-gritty of migrating from Shopify to WooCommerce step-by-step. We’ll explore the whys, hows, and what-ifs. More importantly, we’ll address your concerns – from maintaining data integrity to minimizing business disruptions and preserving your hard-earned SEO value.
Disclaimer: Migrating your Shopify to WooCommerce is a technical process and does require a fair amount of developer know-how. We’re not advocating that you try this process by yourself if you’ve never done anything like it before. This article aims to showcase what the general migration process looks like and the different avenues one can take to get there. If you are interested in migrating your store, we really recommend getting an expert, like Saucal, involved.
Step 0: Set up your WordPress website and install WooCommerce
The first and most crucial step is selecting a hosting provider. While there are many options out there, for an enterprise-level business, we recommend Saucal’s Managed WooCommerce Hosting. Here’s why it stands out:
- Superior speed: Saucal’s hosting is optimized for WooCommerce to guarantee your site loads quickly, enhancing customer experience and SEO rankings.
- Scalability: As your business grows, your website should too. Saucal’s hosting can handle increased traffic and sales without a hitch.
- Custom WooCommerce configurations: Unlike general hosting services, Saucal provides configurations specifically optimized for WooCommerce. This means your store runs more efficiently and effectively.
- Solid security measures: eCommerce sites are attractive targets for cyber threats. Saucal offers robust security measures to protect your site and customer data by regularly checking for indicators of compromise to help in the early detection of any security issue.
- Dedicated customer support: Saucal’s hosting comes with expert support, ensuring any issues you encounter are swiftly addressed.
With your WordPress site hosted, it’s time to install WooCommerce:
- Log into your WordPress admin dashboard and go to Plugins > Add New Plugin.
- Search for the WooCommerce plugin, then install and activate it.
- WooCommerce will launch a setup wizard to help you configure basic settings like store location, currency, payment methods, and shipping options.
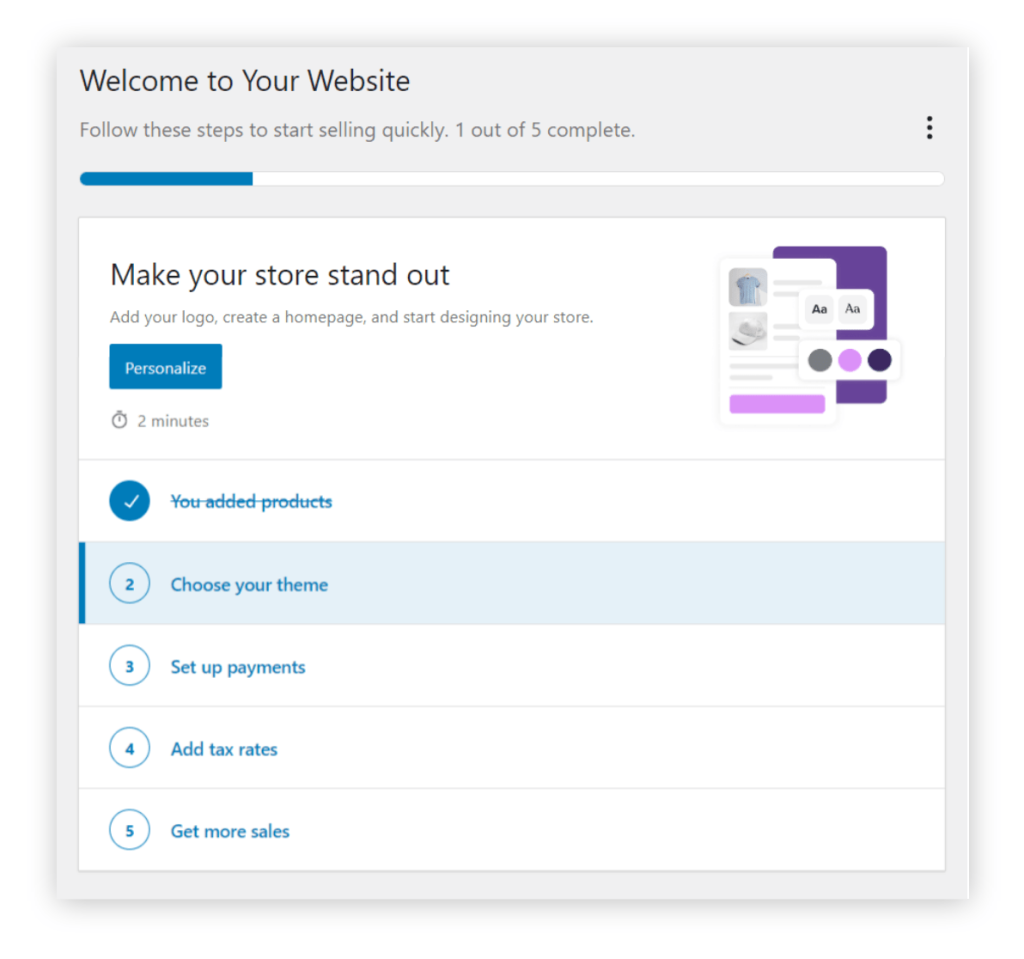
- After the initial setup, you can start customizing your store, adding products, and setting up other necessary features.
⭐ The combination of WordPress and Saucal’s Managed WooCommerce Hosting provides a robust, secure, and scalable foundation for your eCommerce business.
Step 1: Configure permalinks
The way your URLs are structured – known as permalinks – plays a significant role in your website’s SEO and user experience. Permalinks are permanent, static URLs that point to specific pages, posts, categories, and tag archives on your site. They are essential for:
- SEO: A well-structured permalink that remains consistent can carry over the SEO ‘juice’ from your old Shopify site to your new WooCommerce site. This helps in retaining your search engine rankings.
- User experience: Clear and descriptive permalinks make it easier for users to understand and navigate your site, improving the overall user experience.
Here’s a step-by-step guide to configuring permalinks in WooCommerce:
- Log into your WordPress admin dashboard.
- Go to Settings and then select Permalinks.
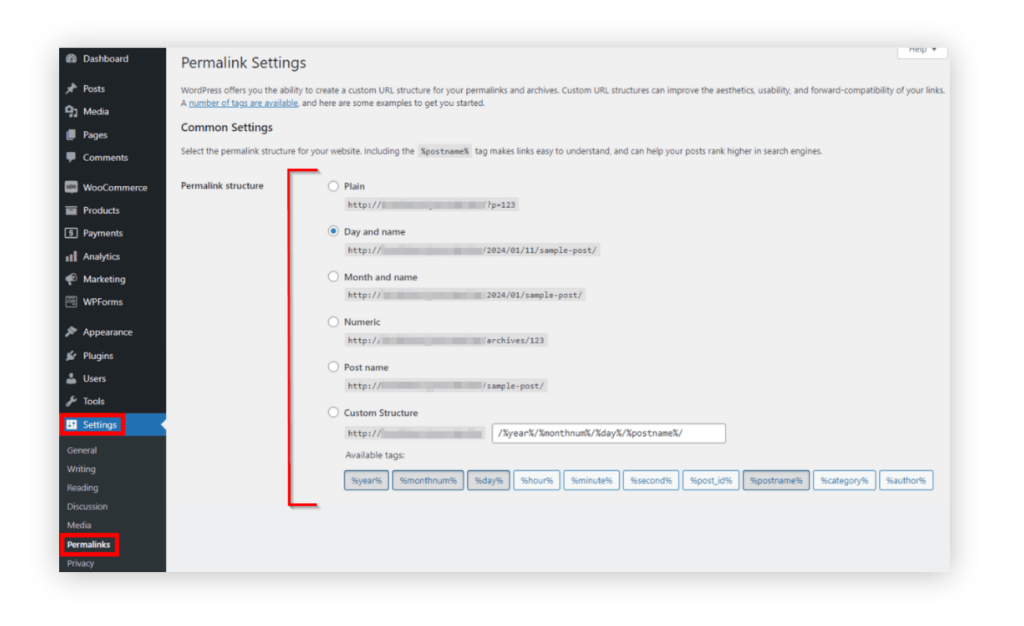
- WordPress offers several options for permalink structures. For WooCommerce stores, you typically want to choose a structure that includes the product or category name for better SEO and user clarity.
When setting up permalinks, it’s important to consider a structure that incorporates relevant keywords and follows SEO best practices. This not only aids in search engine optimization but also makes the URL meaningful and easy to understand for your users.
Failure to correctly configure permalinks can lead to several issues:
- Broken links: If permalinks are not set up to match or redirect from your old Shopify URL structure, it can result in broken links.
- Error 404 messages: Incorrectly configured permalinks might lead users to dead ends on your site, displaying error 404 messages.
- SEO impact: Without proper permalink configuration, your site might lose its existing search engine rankings, impacting your online visibility.
Step 2: Configure WooCommerce settings
After setting up your domain and permalinks, it’s time to configure the essential settings in WooCommerce to ensure your store functions correctly and is tailored to your specific business needs.

Start by establishing your general store settings:
- Store address: Enter your business’s physical address. This is important for tax calculations and shipping.
- Currency settings: Set the currency you will be using in your store. This should align with your primary customer base.
- Selling locations: Define where you want to sell your products. WooCommerce allows you to sell globally or restrict sales to specific countries.
- Tax settings: This includes standard, reduced, and zero tax rates.
Now, onto your product, checkout, and payment setting configurations, which control how your products are displayed, managed, and bought by your customers:
- Product measurements: Set the units for product weight and dimensions. This impacts shipping calculations.
- Enable/disable reviews: Decide if you want to allow customer reviews on your products.
- Inventory management: Configure settings for stock management, including low stock thresholds and stock display options.
- Checkout options: Configure settings for default checkout pages, guest checkout, and customer account creation.
- Payment gateways: Set up payment methods like WooPayments, PayPal, Stripe, or bank transfers. Ensure you configure each payment gateway with the correct credentials.
- SSL for secure transactions: Make sure your site has SSL (Secure Sockets Layer) certification for secure payment transactions.
- Shipping options: Configure shipping methods and integrate with popular carriers if necessary.
WooCommerce allows you to configure even more settings, some of them advanced and complex; that’s why Saucal offers professional assistance for accurate setup, so you’re never at a loss with your new online store.
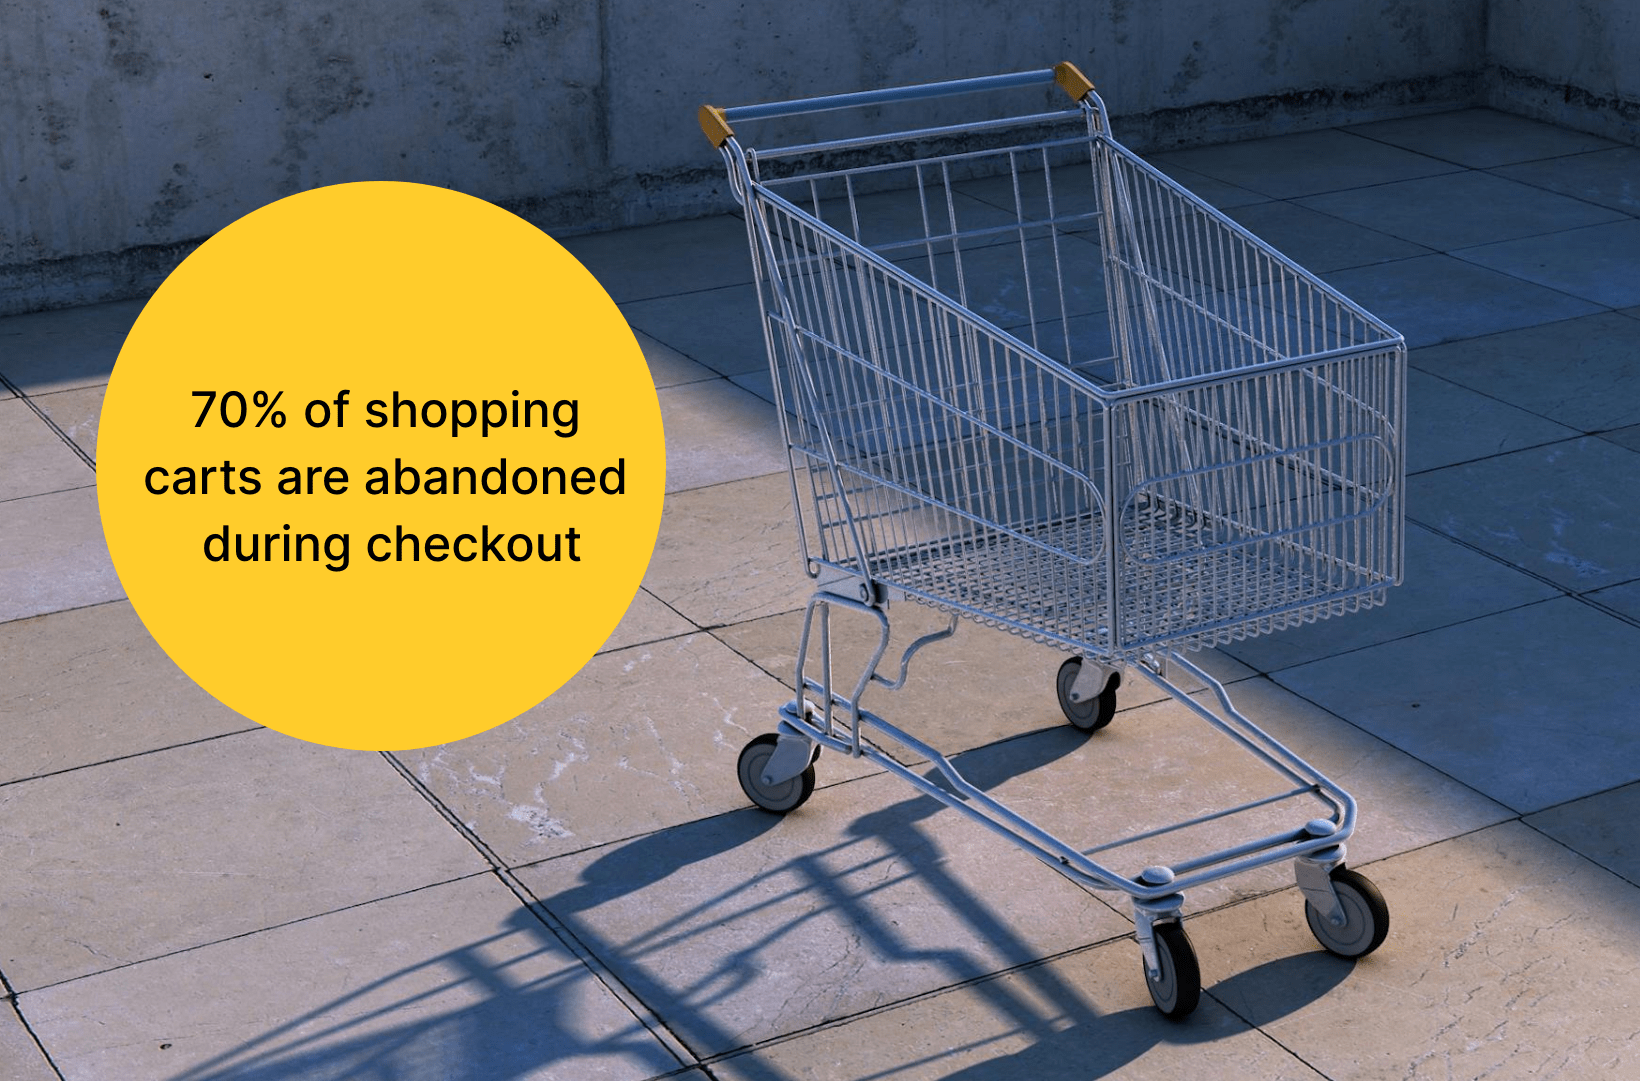
Step 3: Put your Shopify store into maintenance mode
Imagine you’re in the midst of migrating your store’s data – products, orders, customer information – but new transactions keep rolling in on your live Shopify site. This would result in a discrepancy between the data you’re migrating and the current state of your store.
Essentially, you’d be playing a never-ending game of catch-up with your data, which is not only inefficient but could lead to errors and customer dissatisfaction.
That’s why it’s necessary to put your Shopify store in maintenance mode to ensure the integrity and consistency of your data during the migration process before you do anything – here’s how to do that:
- Back up your entire website before starting.
- Log into your Shopify admin panel and navigate to the Online Store section.
- In the Preferences section, you’ll find an option to enable a password page. Activating this will effectively put your store in maintenance mode.
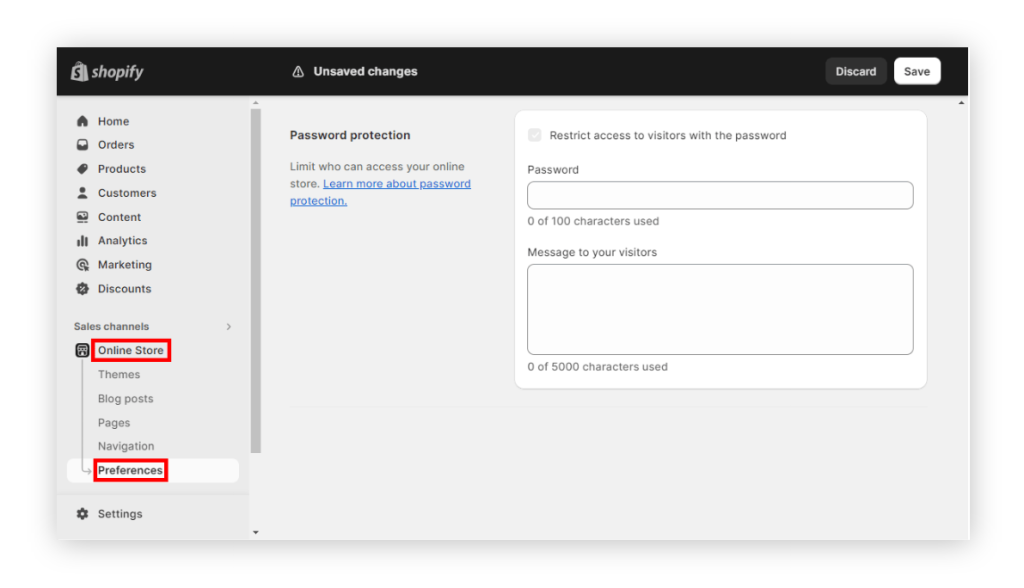
- While in maintenance mode, your customers will see the password page when they visit your store. You can customize this page to inform your customers about the ongoing update and provide an estimated time when the store will be back online.
- Click on Save at the top-right corner to apply the maintenance settings.
Step 4: Export your data from Shopify
Transferring your online store from Shopify to WooCommerce is like moving houses – you need to ensure that everything important is packed and ready to go. With online stores, this means exporting your store data as CSV files. Make sure to include:
- Product details: Includes names, descriptions, prices, images, and inventory details.
- Customer data: Essential for maintaining relationships and personalization; includes customer names, contact information, and preferences.
- Order histories: Crucial for after-sales service and analytics; includes details of past customer purchases.
- Pricing information: Ensures consistency in pricing strategy post-migration.
- Other operational data: Any additional data that’s integral to your store, such as discount codes, gift card information, and store settings.
To do this:
- Log into your Shopify admin panel. Depending on what data you’re exporting, go to the appropriate section (e.g., Products, Customers, Orders).
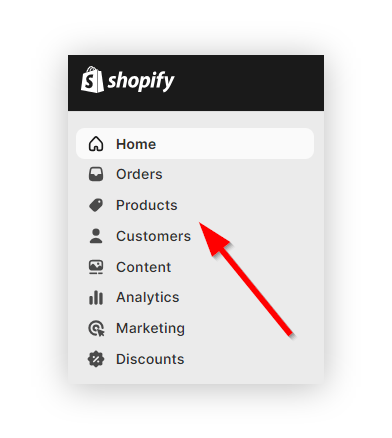
- Within each section, look for an Export option.
- Shopify will prompt you to select the range of data you want to export (e.g., all products, customers, or orders) and the file format. Choose CSV for file format.
- After confirming your selections, Shopify will process your request and create a CSV file. Once the file is ready, download it, and save it securely.
- Follow these steps for each type of data you need to export. It’s critical to keep your data organized and labeled clearly to avoid confusion during the import process into WooCommerce.
This organized approach ensures that every crucial aspect of your store is accounted for and ready to be re-established in its new home.
Step 5: Import your products with the WooCommerce Product Importer
Now that your Shopify data is securely exported, it’s time to lay the groundwork for your new WooCommerce store, populating it with your products. You have two ways: using the WooCommerce Product Importer or a specialized migration plugin.
Using the WooCommerce Product Importer
The WooCommerce Product Importer is designed to facilitate the process of transferring your product catalog from Shopify to WooCommerce, including:
- Product details: Name, description, price, and SKU.
- Product images: High-quality images associated with each product.
- Categories and tags: Organizational data that helps in sorting and displaying products.
- Product variations: Different versions of a product, like size or color variations.
Here’s what to do:
- Ensure your exported Shopify product data is in a CSV file because WooCommerce Product Importer primarily works with this format.
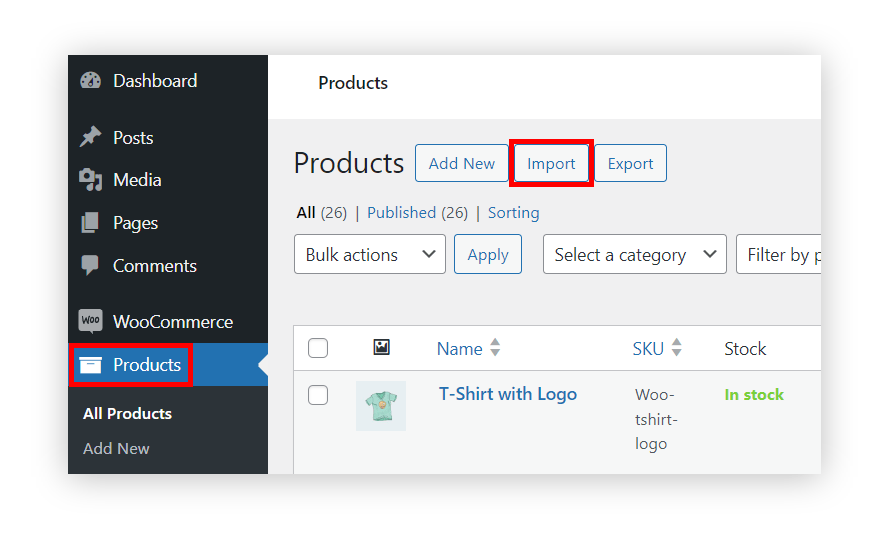
- In your WordPress dashboard, go to Products. Here, you’ll find an option to Import. Click on it to open the WooCommerce Product Importer.
- Select Choose file and upload the product CSV file you prepared earlier.
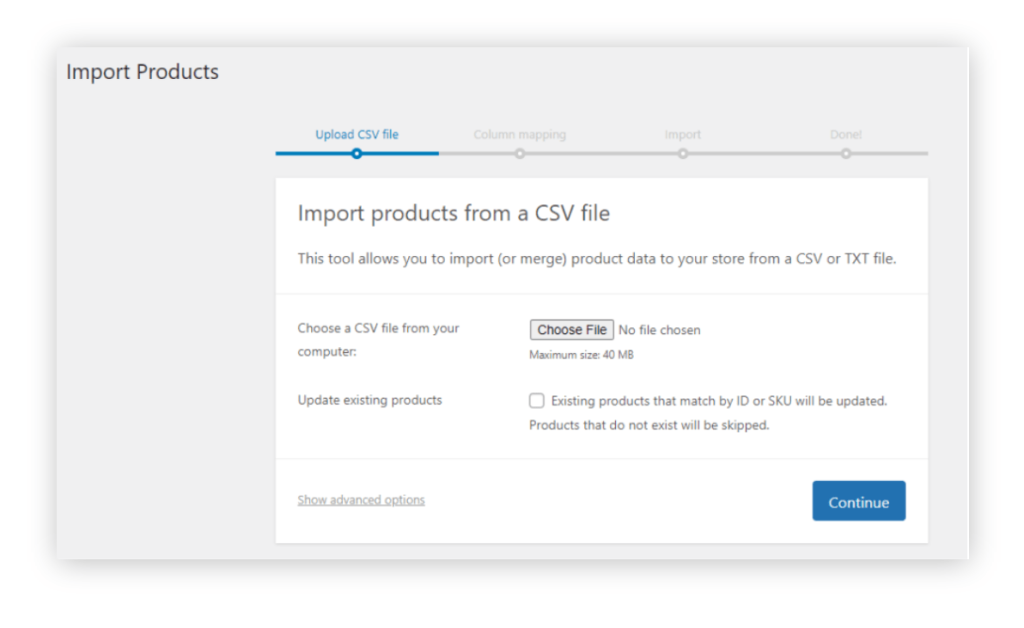
- The importer will display the columns in your CSV file and the corresponding fields in WooCommerce. Here, you can map your data to the WooCommerce fields, which is vital for accurate data transfer.
- After mapping the columns, proceed with the import. The tool will start importing your products into WooCommerce.
- Once the import is complete, review your products to ensure that all details, including images, categories, and tags, have been imported correctly.
Using a migration plugin
While the default WooCommerce importer is an excellent option, migration plugins offer a comprehensive solution for transferring your remaining Shopify data.
Migration plugins are specialized tools designed to facilitate the transfer of eCommerce data from one platform to another. They go beyond products, handling critical data such as customer details, order history, and even SEO settings. These plugins typically offer features like URL redirects and metadata migration, ensuring that your store’s search engine ranking is not affected by the move.
Let’s compare three popular migration plugins: LitExtension, Cart2Cart, and Next-Cart.
| LitExtension | Cart2Cart | Next-Cart | |
| Pros | User-friendly interface and comprehensive data transfer capabilities. Supports a wide range of data types, including products, customers, orders, SEO URLs, and more. Offers additional options like password migration and multilingual support. | Easy to use. High-speed data transfer. Supports the migration of all key data elements and provides a free demo to preview the process. Compatible with a vast array of eCommerce platforms. | Offers a simple, step-by-step migration process with 24/7 support. Handles a broad spectrum of data, including custom fields and special attributes. Provides a real-time migration preview. |
| Cons | Might require additional configuration for complex migrations, which could be challenging for users with limited technical expertise. | Pricing is based on the number of entities migrated. Some users have noted additional costs for migrating more complex or larger volumes of data. | Customization options might be limited for specific requirements. |
⚠️ At Saucal, we don’t have direct experience using these plugins, but we are covering them in this article due to their popularity.
While migration plugins offer a DIY approach, working with a WooCommerce developer, like our team at Saucal, can provide a more tailored and hands-on experience. We also aim for minimal downtime during the migration process by doing one or more test migrations before doing the final one. That way, we’ll know exactly what needs to be done and tackle any issues before the new site is live.
Working with a WooCommerce developer
Transitioning an online store from Shopify to WooCommerce involves more than a simple transfer of data; it demands a comprehensive understanding of both platforms and the intricacies of e-commerce migration. While migration tools like LitExtension and Next Cart offer convenience, partnering with a seasoned WooCommerce developer brings a level of customization, expertise, and hands-on support that ensures a tailored, seamless transition. Their ability to fine-tune the migration process, optimize your store’s functionality, and provide ongoing technical assistance can significantly enhance the efficiency and success of the migration, leading to a more customized and robust eCommerce solution tailored to your specific business needs.
Kostas Seresiotis, Senior Product Engineer at Saucal
Opting for a WooCommerce developer provides you with:
- Customization and personalization: A developer can go beyond the basics, customizing your store’s functionality and appearance to better align with your brand and business needs.
- Data integrity and minimized downtime: Migrating large amounts of data can be risky. Developers ensure data integrity is maintained throughout the process and work to minimize any downtime, keeping your business operational.
- Troubleshooting and technical support: A skilled developer can quickly identify and resolve unexpected issues, preventing potential setbacks.
- Post-migration support: After the migration, you may need assistance with optimization, updates, or troubleshooting. A developer provides ongoing support to ensure your WooCommerce store continues to run smoothly.
At Saucal, we’re committed to delivering bespoke solutions for enterprise-level migrations. Our track record of successful migrations speaks to our deep understanding of WooCommerce. Here’s what sets us apart:
- Custom-tailored migrations: We don’t just provide data migration services; we tailor the entire process to suit your specific business requirements and goals.
- Ensuring business continuity: Our approach is designed to minimize disruption, ensuring your store remains operational and your customers see a seamless transition.
- Ongoing support and maintenance: Post-migration, our team remains at your service, providing ongoing support and maintenance to help your business thrive on its new WooCommerce platform.
Changing the WordPress dashboard language can be very useful for WooCommerce store managers, allowing them to stay in control of the back end of the store while ensuring the front end serves visitors effectively. Again, while this won’t translate the content of your website, it can still be a useful tool to help you improve the customer experience.
Step 6: Point your domain to WooCommerce
After successfully migrating your store data to WooCommerce, it’s time to make sure your customers can find you at your new digital location. This means directing your existing domain name (e.g., www.yourstore.com) to your new WooCommerce store. When a customer visits your shop, they get taken to your new WooCommerce store instead of your old Shopify one.
The process of pointing your domain to your new WooCommerce store varies depending on your domain registrar (the service where you registered your domain name). While the specifics can differ, the general process usually involves the following steps:
- Log into the account where your domain is registered (e.g., GoDaddy, Namecheap, etc.).
- Find the domain management area and look for DNS settings or Domain Name Servers settings.
- Change the existing records to point to your new WooCommerce hosting provider. Typically, this involves updating the A record (which points to an IP address) or CNAME record (which points to a hostname) with the details provided by your WooCommerce hosting service.
- After updating the DNS records, save the changes. It may take some time (up to 48 hours) for these changes to propagate across the internet, during which time your domain will start pointing to your new WooCommerce store.
Given the variation in domain registrars, it’s important to consult the specific guidance or customer support provided by your registrar. Many registrars offer detailed tutorials or customer support to guide you through this process.
Also, keep these considerations in mind:
- Timing: It’s advisable to do this at a time when your store typically experiences lower traffic to minimize any potential disruption.
- Propagation time: Be prepared for a short period where your domain may not point to either site as the changes take effect.
- Backup: Ensure you have all necessary backups and that your WooCommerce store is ready to go live before making these changes.
Changing the WordPress dashboard language can be very useful for WooCommerce store managers, allowing them to stay in control of the back end of the store while ensuring the front end serves visitors effectively. Again, while this won’t translate the content of your website, it can still be a useful tool to help you improve the customer experience.
Step 7: Test your Woo store post-migration
After migrating your store to WooCommerce, rigorous testing is essential to ensure that everything functions as intended and your store is ready to provide a smooth shopping experience. Here are the key areas to focus on:
Functionality testing
Functionality testing helps to identify and rectify any issues that might disrupt your store’s operations. This involves verifying that all features of your site are working correctly post-migration:
- Product listings and site navigation: Ensure that all products are listed correctly and site navigation works as intended.
- Search function and filters: Test the search bar and filters to confirm they return accurate and relevant results.
- Checkout process and transaction functionality: Run through the checkout process to ensure transactions can be completed without errors.
SEO ranking and site traffic
Proper SEO testing guarantees that the transition doesn’t negatively impact your online visibility or search rankings.
- Test redirects: Ensure that all redirects from your old Shopify URLs to your new WooCommerce URLs are working correctly.
- Check canonical links, title tags, and meta descriptions: Verify that these elements are correctly set up.
User experience testing
- Site layout and responsiveness: Check the layout on various devices to ensure that your site is responsive and mobile-friendly.
- Overall site performance: Test the loading times and general performance of your site.
- This helps in identifying discrepancies that could affect customer satisfaction.
Comparative testing
Comparing the new WooCommerce site with your old Shopify store can provide valuable insights, help in maintaining consistency, and offer a familiar experience for returning customers.
Double-check that product listings, navigation systems, CTAs, and site layout are all present, correctly formatted, and functioning as intended.
Saucal’s post-migration assistance
Given all the aspects that go into migrating your eCommerce platform, our team at Saucal offers comprehensive assistance in the post-migration phase.
We conduct thorough testing of your WooCommerce store to ensure every aspect functions optimally. Our expertise in WooCommerce guarantees that any potential issues are quickly identified and resolved for a smooth transition while maintaining your SEO rankings and an excellent user experience.
Changing the WordPress dashboard language can be very useful for WooCommerce store managers, allowing them to stay in control of the back end of the store while ensuring the front end serves visitors effectively. Again, while this won’t translate the content of your website, it can still be a useful tool to help you improve the customer experience.
Make your migration a success with Saucal
Migrating your online store from Shopify to WooCommerce is a journey that involves careful planning, careful execution, and detailed testing. It’s a complex process that can seem daunting, especially when considering the stakes:
- Data security.
- SEO preservation.
- Uninterrupted business operations.
- Cost-effectiveness.
Thankfully, Saucal offers a reliable, seamless, and cost-effective migration service to dissolve your worries and pave the way for your business’s growth.
Our approach is built around ensuring that every piece of data – from your product details and customer information to your precious order history – is transitioned accurately and preserved. We use proven methodologies and tools to guarantee that your data isn’t just safely migrated but also optimized for performance in your new WooCommerce environment.
Choosing Saucal means choosing a partner who understands the nuances of eCommerce migrations. Get in touch with Saucal today and take the first step toward a thriving WooCommerce store!